
Photo Editing
Outsourcing Real Estate Photo Editing: How to Test an Editor
Choosing a real estate photo editor? Use a test brief and quality checklist to compare results, handle revisions, and see how much time you save.
Before you outsource real estate photo editing, try a small order using the kinds of photos you shoot every week. Send clear instructions and a style reference. Then check the results together and track how much time you spend reviewing them.
The goal is not just brighter photos. You need a set that matches your style, shows the property accurately, and leaves you with less work. Here is a practical way to test that before you commit to regular orders.
1. Agree on what you are sending and buying
Are you sending files straight from the camera, or prepared JPGs that need a final edit? Will you choose the photos, or do you expect the editor to select them?
Explain how you shoot. You might use one exposure per view, bracketed shots of the same scene at different exposures, or a mix of flash and ambient shots. HDR photo merging combines bracketed shots into one image. It is a different task from adjusting the color and brightness of an existing JPG.
Confirm the file types the editor accepts, how to group related shots, and the format you will get back. Also agree on what the price covers. Does one charge cover a finished photo or each source frame? Are window edits, sky changes, and object removal included or extra?
For regular work, start with a small paid test or a trial with clear terms. Check what a trial covers before using it to judge the full service.
2. Choose photos that reflect your usual work
Do not send only your easiest living room. But do not build a test from rare problems you almost never face, either.
For a mix of interior and exterior work, try these six views. Use fewer or different shots when that better fits your work.
| Photos to include | What to check |
|---|---|
| Two views of the same room | Do the same walls, floors, and cabinets keep a consistent color? |
| An interior with a bright window | Is the room well lit, with a believable view and clean window edges? |
| A room with mixed lighting | Are unwanted color casts reduced without changing the materials? |
| A dark room or corner | Are shadows lifted without making the photo look flat or washed out? |
| An exterior | Do the light, colors, and edges match your usual style? |
Use the files you would send for a normal job. Point out missing exposures, soft images, or other known problems. When comparing editors, send the same files and brief, and note any differences in the work they agree to do.
For an initial style check, see PicchuSpot's photo editing examples and options. The Brightness & Contrast Lift pair is one place to start: compare shadows, bright areas, and edges, not just overall brightness. A portfolio helps you assess style; your own test checks the fit for your work.
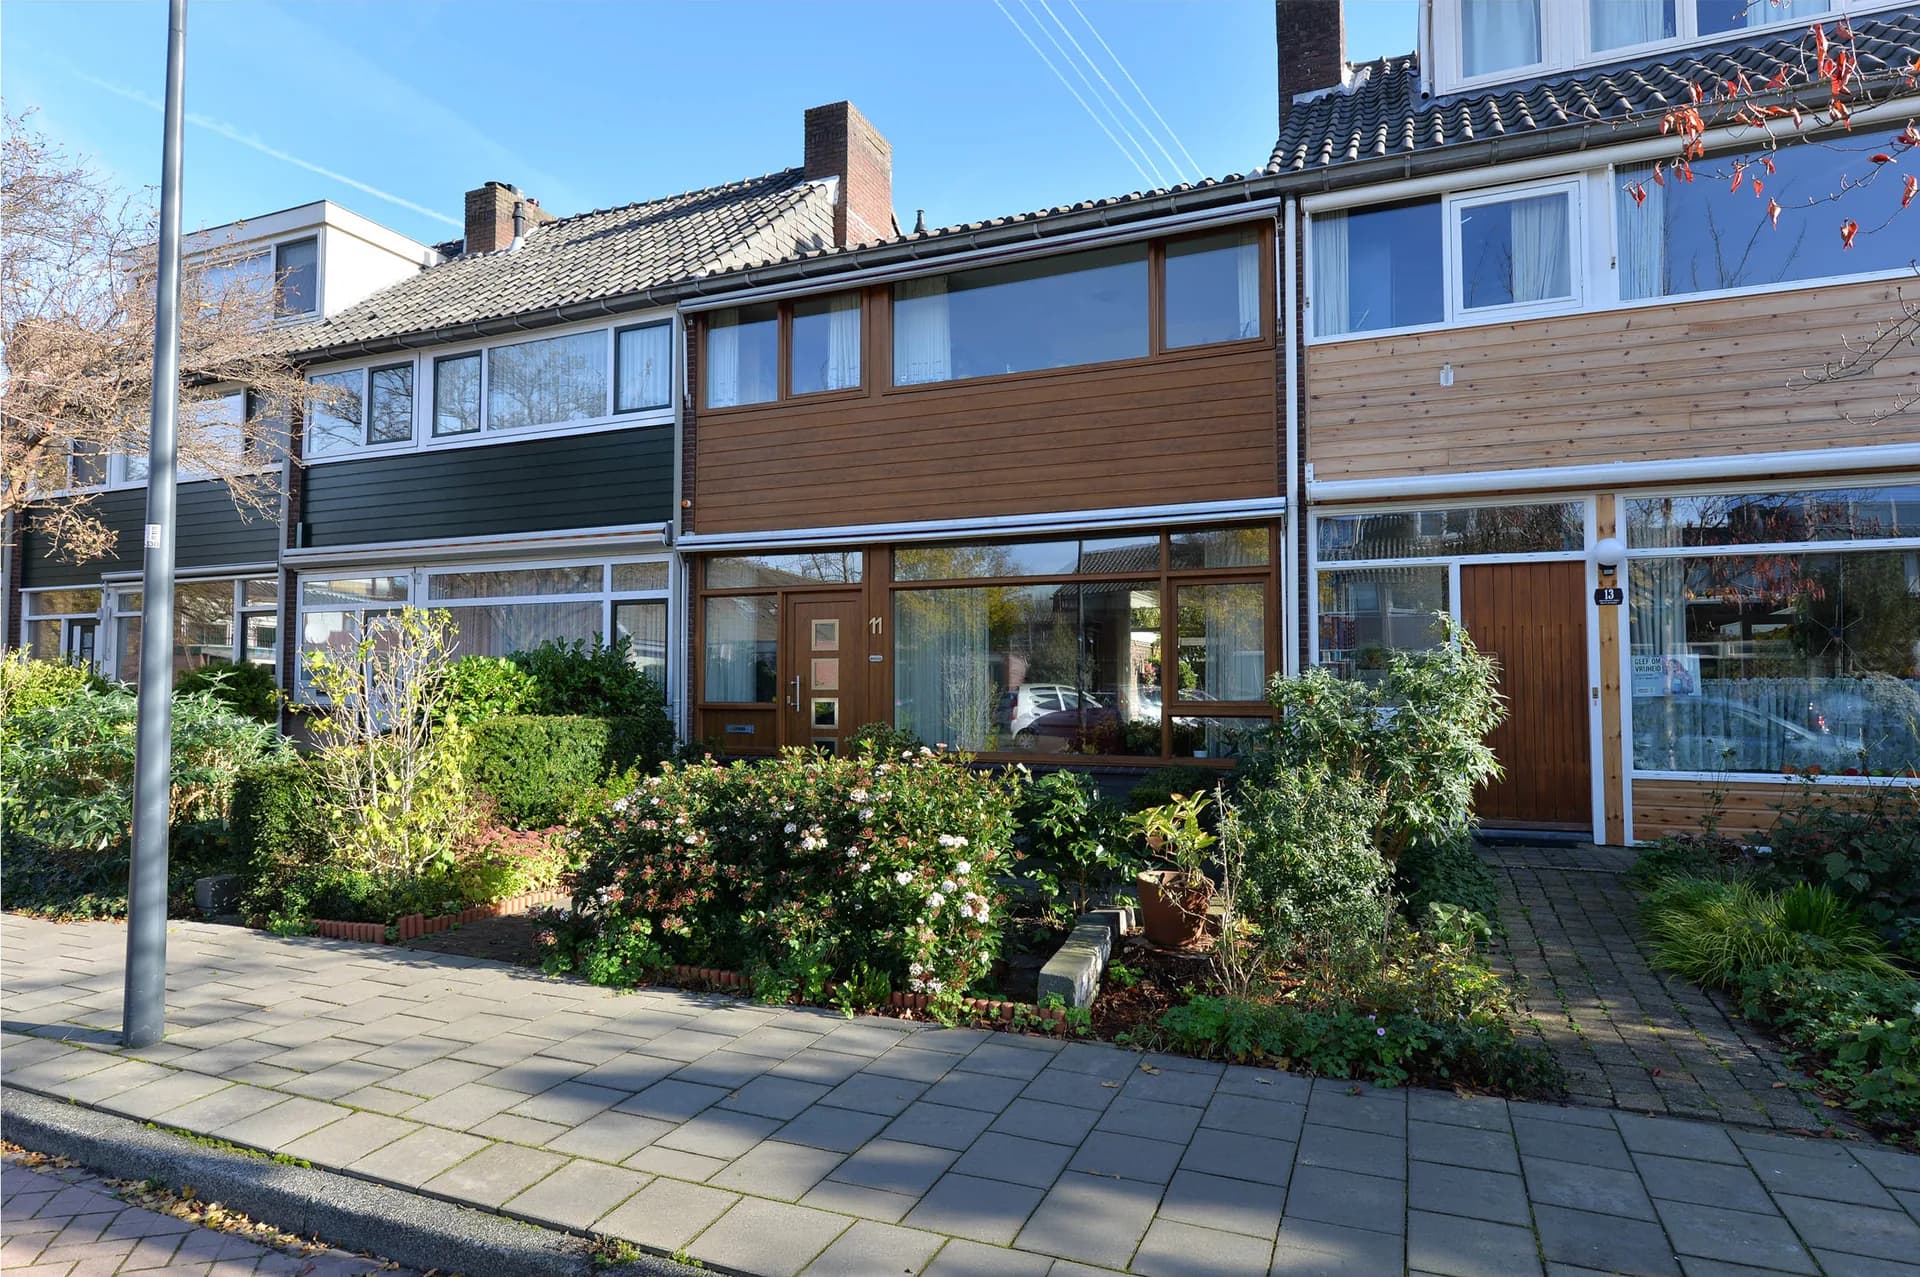 BEFORE
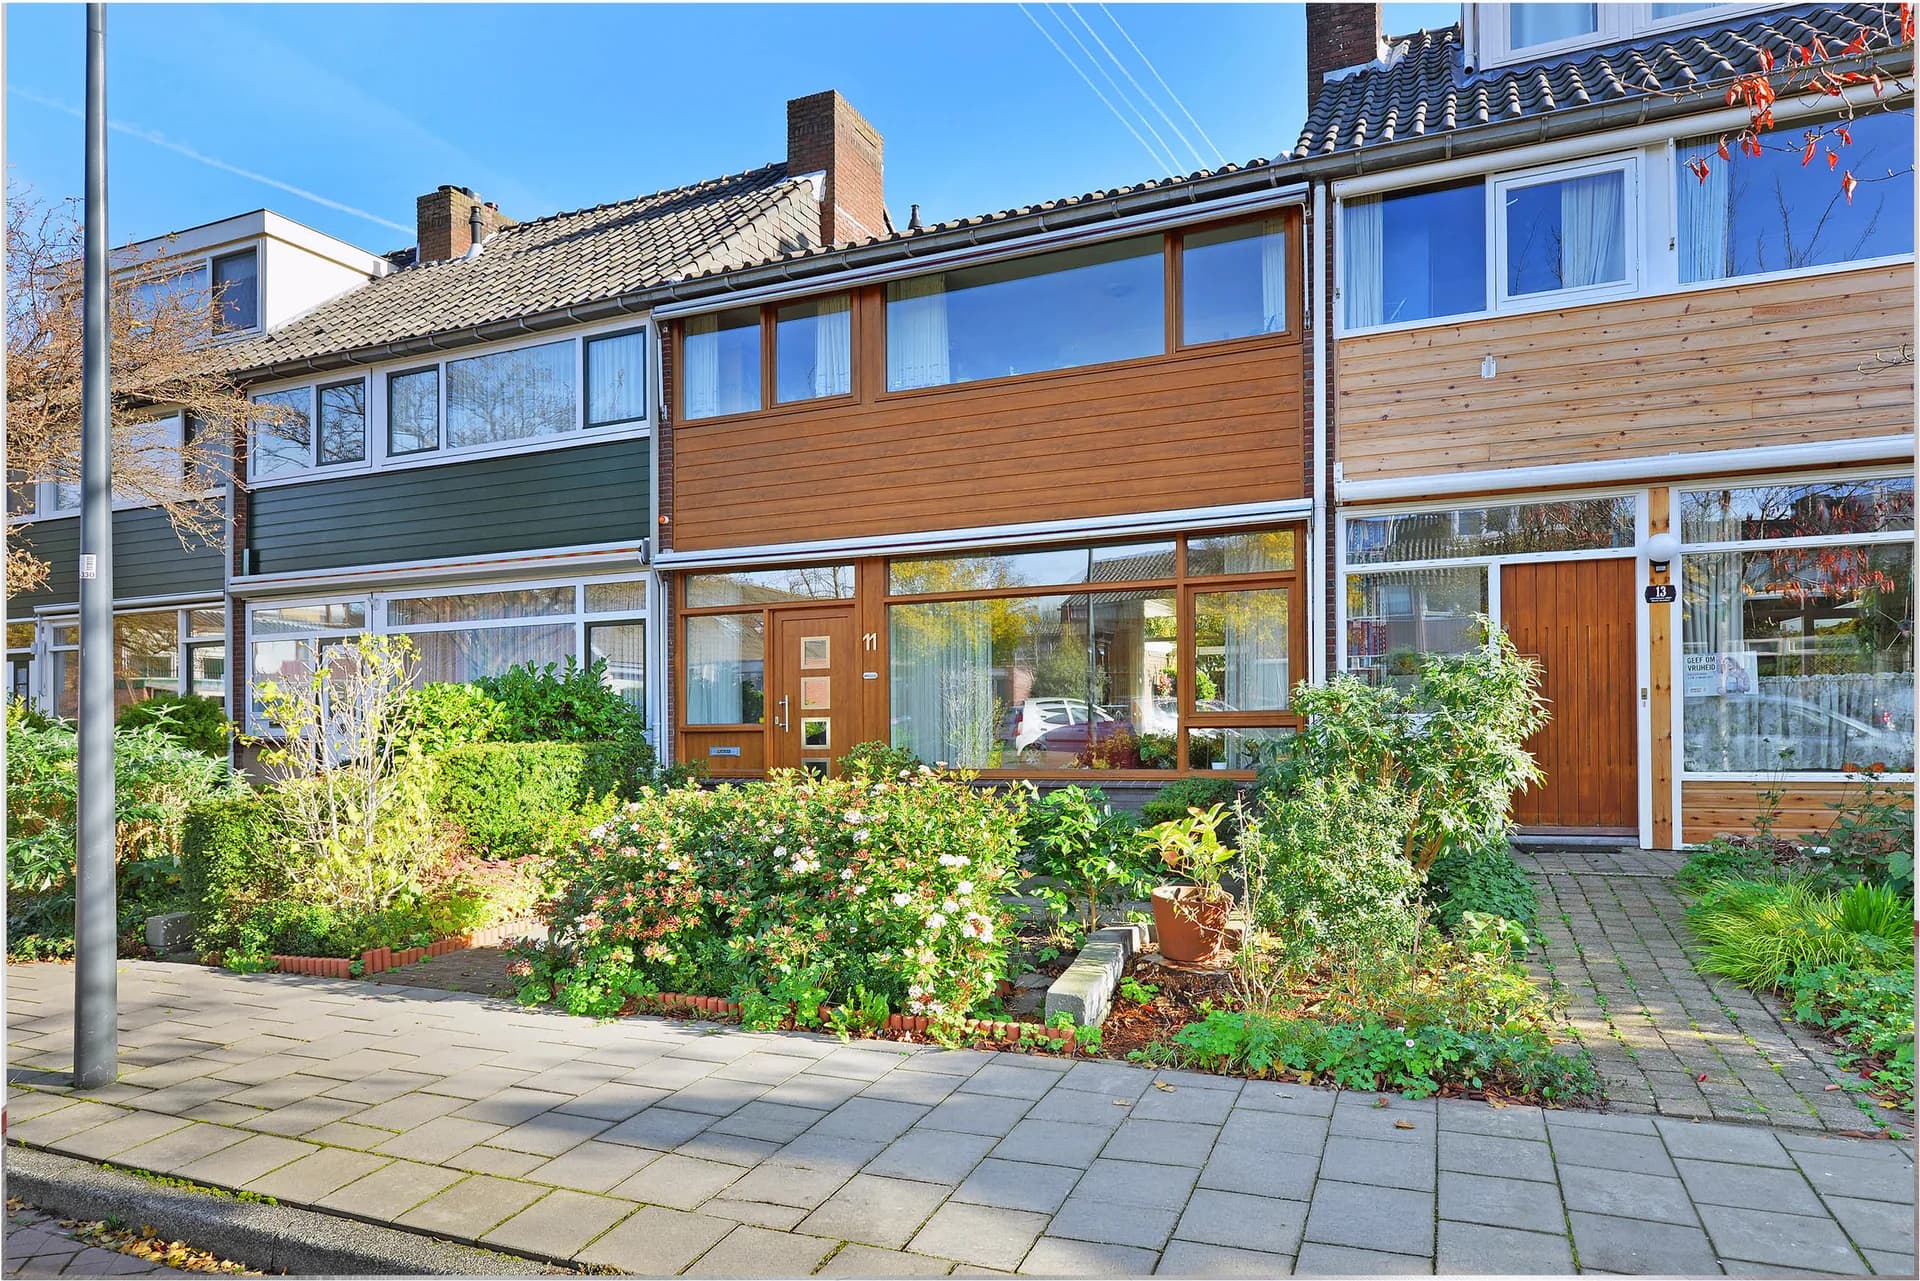 AFTER
AFTER3. Give the editor a clear brief
“Bright and natural” can mean different things to different people. Add a reference image and say what you like about it. Is it the warm wood, soft contrast, neutral walls, or treatment of the windows?
Use your own work or images you have permission to share. Adapt this brief to the job:
Style: Match the references for brightness, contrast, and color. Keep the room's real shape and material colors.
Light: Keep interiors bright without washing them out. Preserve warm wood tones. Do not turn cream walls white.
Windows: Use the view recorded in the source files. Keep it natural beside the room, rather than much darker or sharper. Do not invent a different view.
Changes: Apply only the agreed edits. Ask before removing objects or changing property features. Flag missing detail rather than guessing.
Files and deadline: Deliver [number] finished photos in [format and size]. Use [filenames] and send them by [date, time, and time zone].
Fill in the brackets and add notes for specific images. For object removal, name the file and mark the exact item. A general request to “clean up the room” leaves too much open to interpretation.
4. Review the results in three passes
Compare the full set
View the photos together at the same size. Do they follow your references? Do two angles of the same room look like they belong in one listing?
Consistent editing does not mean making every room equally bright. Look for changes that the lighting does not explain. A cabinet should not look gray in one view and strongly yellow in the next.
Inspect individual photos
Compare each edited image with its source at full resolution. Check windows, door frames, ceiling lines, reflections, fine textures, and any areas where objects were removed.
Use this checklist to make your feedback specific:
| Check | What may need a correction |
|---|---|
| Color and style | Unwanted color casts, changed finishes, or a result that misses the reference |
| Light and detail | Washed-out areas, an overly processed look, or lost detail that was present in the source |
| Windows and edges | Bright halos, dark outlines, doubled edges, or a different exterior view |
| Shape and content | Warped rooms, stretched features, or objects changed without approval |
| Export | Missing photos, wrong file sizes, unclear names, or files that will not open |
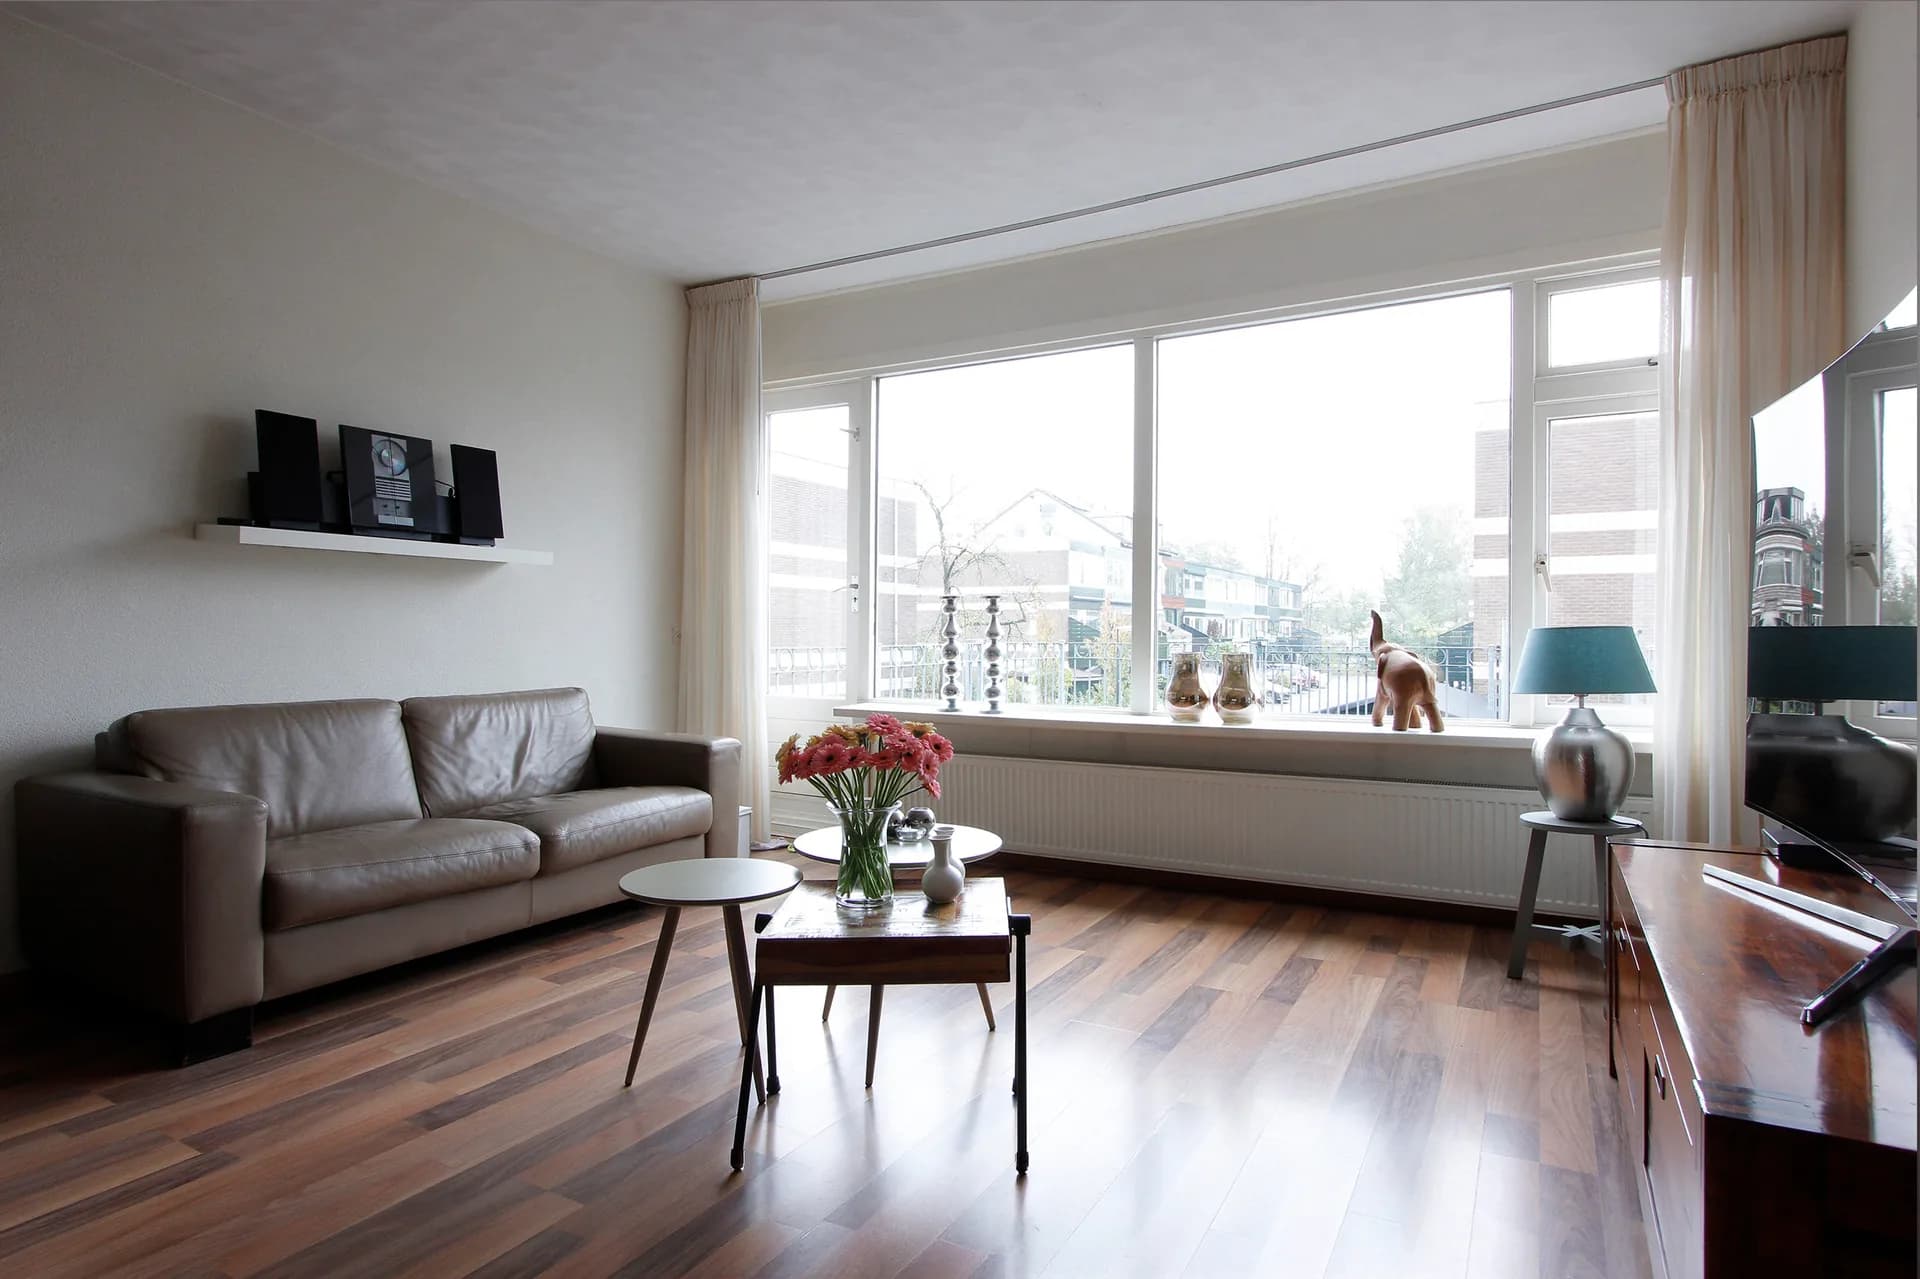 BEFORE
 AFTER
AFTERCheck the delivery
Are the files ready for your next step? Check the deadline, naming, and export settings. Note any extra work you had to do before sending the photos to your client.
A missed instruction needs a correction. A new style request is a change to the brief. Missing detail in the source is a separate problem.
5. Know what the source files can support
A bright window in a preview does not always mean the view is lost. Check the original files first. Some highlight detail may still be recoverable, especially in RAW files; fully clipped areas contain no usable detail. Adobe explains this distinction in its guide to image tone and color.
If none of the files contains the actual view, inventing scenery is not the same as recovering it. Ask the editor to flag the problem. You may need another genuine source image, a different approach to the edit, or a reshoot.
Before changing or removing property features, ask the listing agent to check the relevant MLS rules. CRMLS, for example, has its own guidance on digitally altered images. Its requirements should not be treated as rules for every MLS or market.
6. Make revision requests specific
When the result needs a correction, send one clear request with the filename, area to fix, and parts to keep.
For example:
“In image 04, the ceiling looks green compared with the reference. Please correct the ceiling color. Keep the warm cabinets and current window brightness.”
After the update, check both the requested change and the areas that were already right. Record how much time you spent explaining and reviewing the fix.
When the first delivery meets the brief, there is no need to invent a problem to test the editor. Confirm the revision terms for future work and move on.
7. Count the time you actually save
A low price is not much help when you have to redo the work. Compare the same job with and without outsourcing, including the time you spend sending files, checking results, and handling revisions.
Time saved = time you would spend editing and checking − time you still spend after outsourcing.
Here is a made-up example, not a PicchuSpot quote or an industry average. A 30-photo job takes you 120 minutes to edit and check yourself. After outsourcing, you spend 10 minutes sending files, 20 minutes checking results, and 15 minutes on corrections. That is 45 minutes of your own work, leaving you with 75 minutes saved.
If the editing bill is $45, you have paid $36 for each hour saved: $45 divided by 1.25 hours. Whether that is worthwhile depends on how you use the time. An extra shoot may bring in revenue when there is demand; more rest may also be worth the cost. Saved time is not automatically extra income.
If you save no time, find out why. The brief may be unclear, the sources incomplete, or the editor a poor fit.
8. Try a full listing before scaling up
A good sample is a reason to try one normal listing, not hand over every job at once. Check the full set, including routine shots that would never appear in a portfolio.
Before starting regular orders, agree on prices, deadlines, time zones, file formats, and revision terms. Also discuss file privacy, storage and deletion, permission to use images in a portfolio, and contact with your clients.
Keep the approved brief and references in one place. Update them when your needs change.
Start a photo editing order with PicchuSpot
Use the same checklist when you try PicchuSpot. Review the examples and pricing, choose the edits you need, and send a reference image with your notes.
See Photo Editing Examples & Pricing
You can upload JPG or PNG files through the website. For RAW files or bracketed sets, contact PicchuSpot to agree on the work and share a link to your own cloud folder. Include a note about how you shoot and the number of finished photos you need.